
How to assign incidents to the students?
To assign an incident to a specific student, go to the Select Criteria section at the top of the page. Choose the desired Class and Section, then click the Search button located at the top-right corner. After searching, a list of students from the selected class and section will be displayed in the Assign Incidents List.

Click the search button to open the previous assign incident list, a list will appear below.

The assign incident list includes seven columns. The first column displays the student names based on the criteria you selected, while the second column shows their admission numbers. The third column contains the student’s class and section details. The fourth and fifth columns provide the student’s gender and phone number. The sixth column shows the total points earned by the student, including both positive and negative points.
Finally, the last column is the Action column, which contains two icons: the plus icon for assigning an incident and the view icon for checking the incidents already assigned to the student.

With the help of the plus icon or add icon, we can assign the incident to the student.

Now click on the plus icon (assign incident), which is shown right below in the action column. The Assign Incident window will be opened after clicking the plus icon.
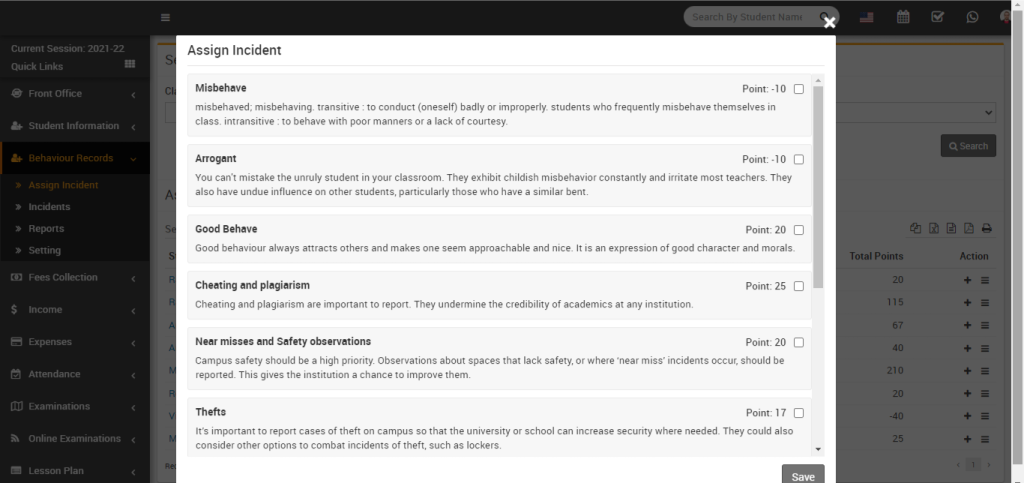
On the Assign Incident page, you will find different types of incidents listed, both positive and negative. Each incident is shown along with its point value, and a checkbox is available on the right side of the page. When assigning an incident to a student, simply tick the checkbox next to the desired incident. You also have the option to select multiple checkboxes to assign more than one incident to the student at the same time.

Now click on save button which showing in left bottom corner. By click on save button, incident and points are assign to the student.